- You are here:
- Home »
- Load Balancer »
- Part 2 of 2 – Port forwarding in Azure Resource Manager Virtual Machines with Azure Load Balancer: Implementation in Azure Portal

Part 2 of 2 – Port forwarding in Azure Resource Manager Virtual Machines with Azure Load Balancer: Implementation in Azure Portal
This blog post is part of a two-part series on the topic of “Port forwarding in Azure Resource Manager Virtual Machines with Azure Load Balancer”:
- Part 1: The basics
- Part 2: Implementation in Azure Portal (this blog post)
This post continues where Part 1 left off. In Part 1, I introduced the basics of doing port forwarding using the Azure Load Balancer. In this post (part 2), I will show you how to implement this in your own Azure setup using the Azure Portal.
I really hope you enjoy this two-part series and feel free to post your comments.
Implement Port Forwarding using the Azure Portal
In this section, I will show you how to use the Azure Portal to implement Azure Load Balancer for port forwarding as described part 1.
Prerequisites
In order to fully follow along you need some basic knowledge on how to create Azure Virtual Machines (VM) and how to connect these in an Azure Virtual Network (VNET).
Please note: Whenever I talk about virtual machines, virtual networks and other Azure resources for that matter, I refer to resources that use the Azure Resource Manager (ARM) deployment model. Azure’s other deployment mode, Classic (or ASM), has its own ways of doing port forwarding which will not be covered here. (see here for further information)
Before we begin…
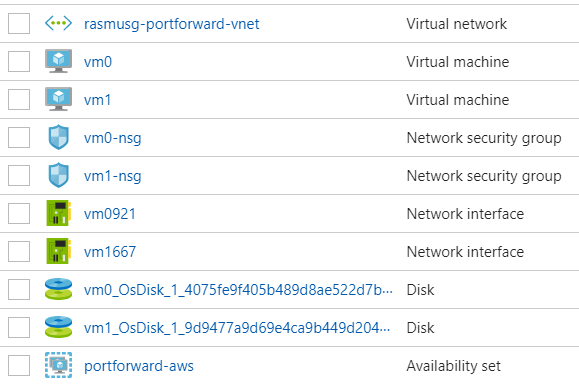
Before we begin you must create an Azure Resource Group containing:
- Two virtual machines (“VM0” and “VM1”) running that are:
- In the same Availability Set (“portforward-aws”)
- Running Windows
- Windows is only used here because this example shows redirection to RDP port 3389 which is integrated into Windows.
Feel free to use any image or operating system supported by Azure
- Windows is only used here because this example shows redirection to RDP port 3389 which is integrated into Windows.
- _not_ assigned any public IP address
- A VNET to which both virtual machines are connected
- The Resource Group should look something like this:
- To help you get started quickly I have created an ARM template that you can deploy by clicking below:
- …or view the source on GitHub

Now we are ready to go. The following four steps will show you how to forward port 8088 to 3389 on VM0 using the Azure Portal, and then forward port 8089 to 3389 on VM1. Lastly, I will verify that everything works as expected.
Step 1: Create a new Load Balancer
Go to the Azure portal: http://portal.azure.com
Click “NEW” -> write “Load Balancer” in search field -> Click “Load Balancer”

After you have clicked the “Load Balancer”, click the “Create” button.
Then fill out the configuration blade as shown below:
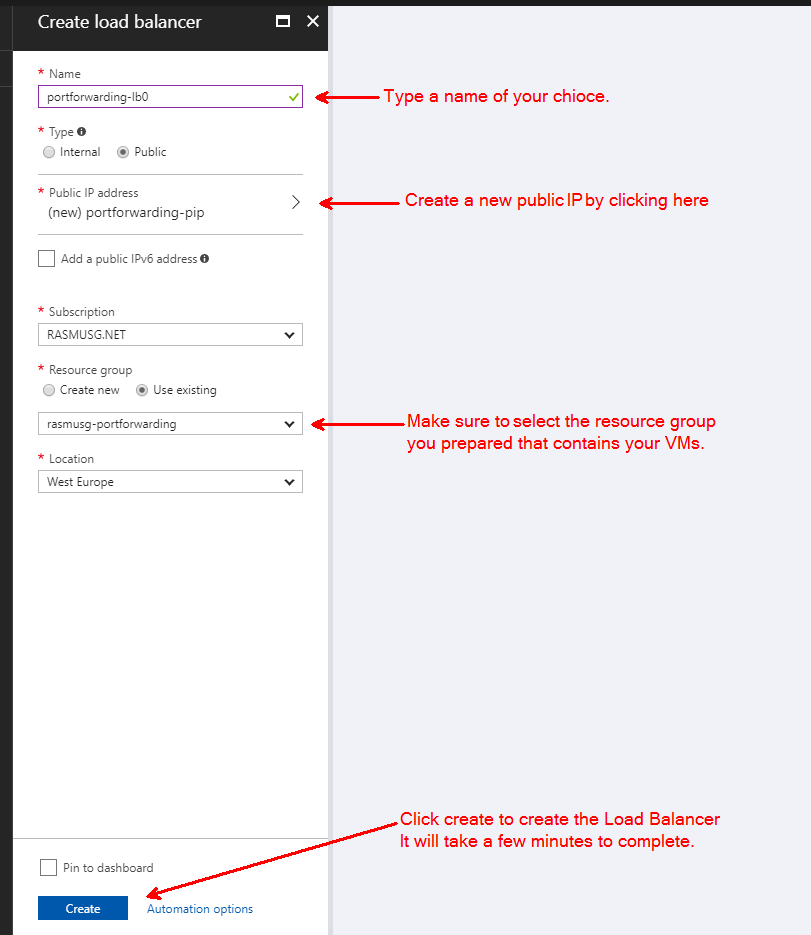
Azure will take a few minutes to create the Load Balancer.
Once created, your resource group will look like this:

Step 2: Configure Load Balancer Backend Pool
In order to connect our newly created load balancer to our virtual machines, we need to create a so-called “Backend Pool”.
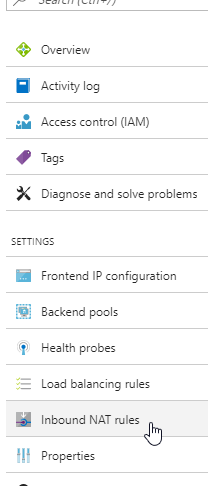
To do so click on your load balancer to open its configuration blade.
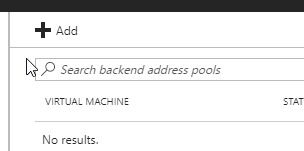
Click on the item called “Backend Pool” in the menu to the left:

Then click the “Add” button:
Fill out the “Add backend pool” configuration blade as shown below:
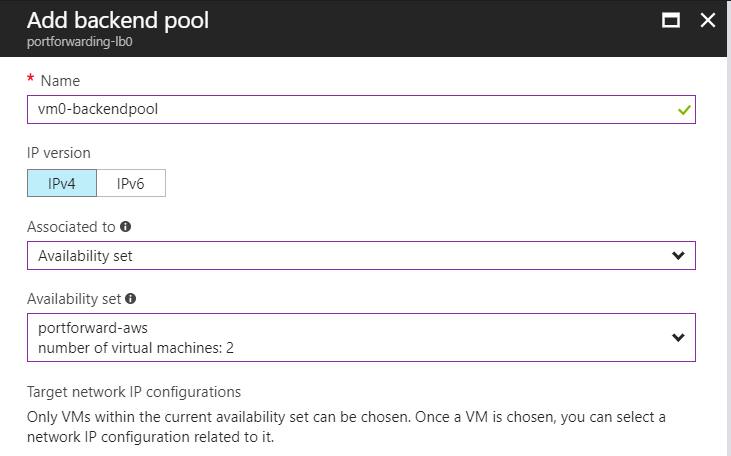
Now click on “+ Add a target network IP configuration”:

…and select the IP configuration for your virtual machine:
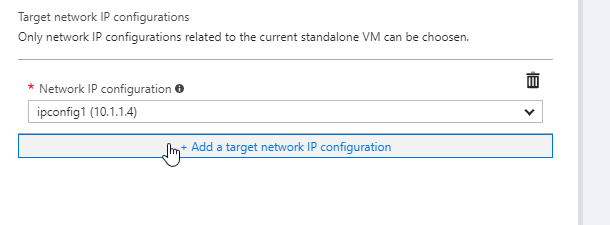
Finally, click the “OK” button to save the Backend Pool.
Now repeat this step; but this time choose VM1 instead of VM0.
All in all, this will give us two backend pools pointing to VM0 and VM1 respectively:
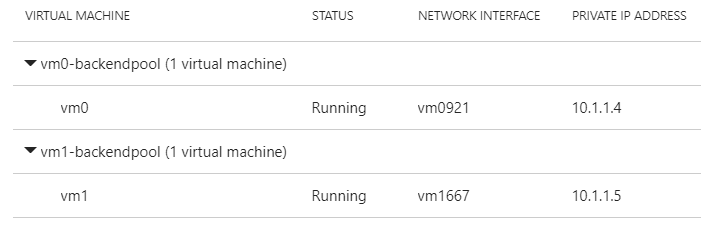
It will take Azure 1-2 minutes to create the Backend Pools
Step 3: Configure NAT rules
Now our load balancer is connected to our virtual machine and we now need to configure rules for redirecting network traffic.
Start by clicking “Inbound NAT Rules” in the menu to the left:
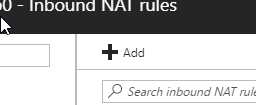
Then click the “Add” button:
Fill out the “Add inbound NAT rule” configuration blade as shown below:
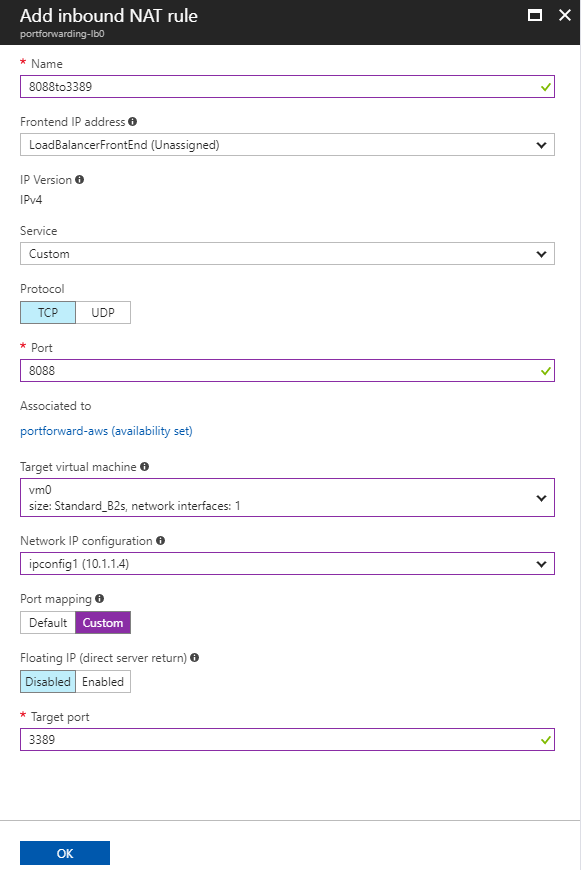
Now repeat this step, but this time choose VM1 instead of VM0 .
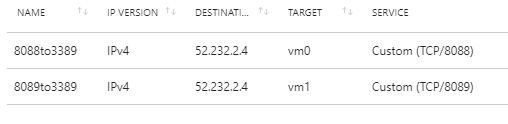
We will now end up with two Inbound NAT Rules: one with port 8088 associated to VM0 and one with port 8089 associates to VM1 :
Step 4: Verify that it works
Now that everything is setup we, of course, want to verify that it works. We do this by connecting VM0 and VM1 through Microsoft Remote Desktop using port 8088 and 8089 respectively.
The tricky part is to find out which public IP address to connect to.
To do so we click the “Inbound NAT Rules” menu item and write down (or copy it to clipboard) the IP address in the column “End point”:

Then we open open Microsoft Remote Desktop (e.g. by clicking Start->Run->mstsc-><ENTER>).
Now type the IP address (in this case 52.232.2.4) we wrote down earlier followed by a colon (“:”) and then 8088.
You will now connect to VM0 using the RDP protocol.
Once logged into the virtual machine open PowerShell and type:
Invoke-RestMethod -Headers @{"Metadata"="true"} -URI http://169.254.169.254/metadata/instance/compute?api-version=2017-04-02 -Method get | select name
Then press [ENTER] end verify that it says “VM0”:

Now do the same for VM1: Open Remote Desktop and type in the IP address followed by a colon (“:”) and this time 8089:

Do you want to quickly deploy this to your own Azure subscription? Click the button below:
…or view the source on GitHub
Header photo by Internet Archive Book Images
4Related Posts
Azure API Management news at Ignite 2021: Event Grid, GraphQL and WebSockets
AZURE NEWS: What’s new with .NET on Azure Functions – June 2021
AZURE NEWS: Azure API Management Premium tier price reduction for incremental purchased units
BUILD 2021 NEWS: “Native support for WebSocket APIs in Azure API Management”
AZURE NEWS: Enable azure site recovery (ASR) while Azure Virtual Machines are created